Setting up your Organization’s Profile in the GovRAMP Member Portal
This guide walks you through how to set up and manage your organization’s profile in the GovRAMP Member Portal. Keeping your org profile updated ensures you’re listed correctly in the member directory and can connect with the community.
Step 1: Log into the Portal
You can access the GovRAMP Member Portal directly at the link below. We recommend bookmarking the page for quick access.
https://members.govramp.org/portal
First time logging in? Visit our Getting Started Guide for some help.
Step 2: Switch to your Organization’s Profile
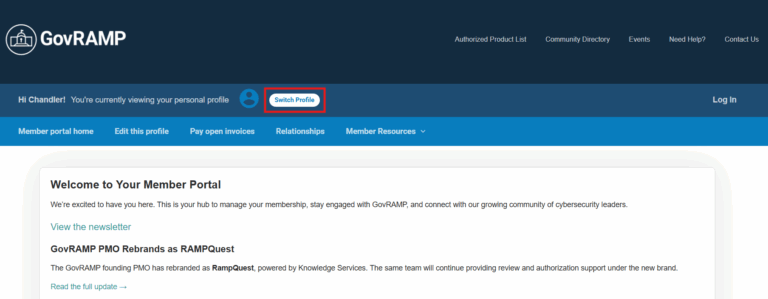
After logging in, check the top banner — it shows whose profile you’re viewing.
Click “Switch Profile” if you’re on your personal profile.
Select your organization from the list.
You’ll now see: “You’re currently viewing [Org Name]’s profile.”
Step 3: Edit Your Organization Profile
Most of your organization’s information will already be prefilled based on your membership application. To make changes or complete missing fields:
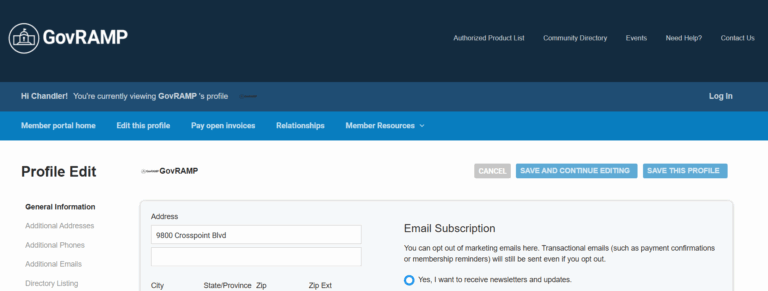
- In the menu bar, click “Edit This Profile.”
- You’ll be directed to your profile editing dashboard. Here you have access to edit your organization’s general information.
On the left-hand menu, you can select additional profile sections to update:
| Section | What You Can Update |
| Additional Addresses | Add secondary or mailing addresses |
| Additional Phones | Add mobile, office, or alternate numbers |
| Additional Emails | Add backup or department email addresses |
| Directory Listing | Edit the information shown in the GovRAMP Member Directory |
Step 4: Edit Your Directory Listing
Through the directory listing tab in the profile editing dashboard you can add/update the information shown in your organization’s directory listing.
From your organization’s profile editing dashboard, navigate to the “Directory Listing” tab.
Input the information you would like to display on your listing.
Click “Save This Profile” to apply these changes.
💡Tip: Keeping your organization’s profile current ensures your listing in the member directory is accurate and helps other members discover your organization through directory searches.

Step 5: Manage Related Profiles
Through your organization’s dashboard you are also able to add additional stakeholders to your organization’s profile.
From your organization’s profile, navigate to the “Relationships” tab.
Click “Add Profile.”
Enter the contact information for the stakeholder you’d like to add.
Edit their role (e.g., main contact, billing contact, editor, receives communications).
Save the new contact.
💡Tip: Adding stakeholders ensures that the right people receive updates and have access to manage the profile. Only main contacts and editors can add or remove related profiles.
Need Help?
Still have questions? Contact our Membership Manager at olivia@govramp.org or explore the Support & FAQs section of this guide.